
Vue 에서는 vue-router 라는 SPA 페이지 전환 공식 라우터를 제공 합니다. npm 을 통해 vue-router 를 설치하고, Vue root 인스턴스 생성 전 router 인스턴스를 생성 하면 라우터를 사용할 준비가 된 것 입니다.
✨vue-cli 를 사용할 경우 Vue.use(VueRouter) 로 라우터 사용을 명시해야합니다.
vue-router 설치
1
npm i vue-router
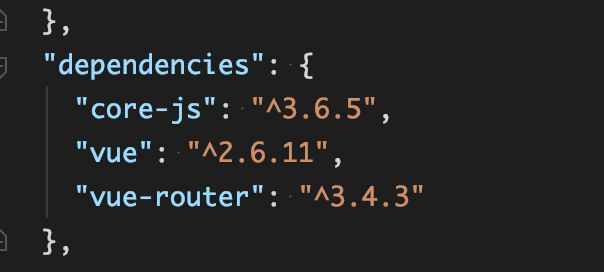
package.json 에 추가된 vue-router 디펜던시
Vue 라우터 기초 예제
라우팅 기능을 사용하기 위해 어플리케이션의 시작지점인 main.js 에서 vue-router 를 import 합니다.
페이지 전환을 테스트 하기 위해 Home.vue, About.vue 페이지 컴포넌트를 만들어 import 합니다.
1
2
3
4
5
6
7
8
9
10
11
12
13
14
15
16
17
18
19
20
21
22
23
// main.js vue-router 사용
import Vue from 'vue'
import VueRouter from 'vue-router'
import App from './VueRouterApp.vue' // 라우팅 페이지 viewer app
import Home from './components/route-page/Home' // 라우팅 대상 페이지
import About from './components/route-page/About' // 라우팅 대상 페이지

Vue.use(VueRouter)

const routes = [ // 라우트 설정
    { path: '/', component: Home },
    { path: '/home', component: Home },
    { path: '/about', component: About }
]
const router = new VueRouter({
    mode: 'history',
    routes,
})

new Vue({
  router,
  render: h => h(App),
}).$mount('#app')
라우팅 대상 페이지 Home.vue 컴포넌트
1
2
3
4
5
6
7
8
9
10
11
12
// Home.vue
<template>
  <h3> {{ message }} </h3>
</template>
<script>
  export default {
      name : 'Home',
      data() {
        return { message: 'Hello I am Home !' }
      }
  }
</script>
라우팅 대상 페이지 About.vue 컴포넌트
1
2
3
4
5
6
7
8
9
10
11
12
// About.vue
<template>
  <h3> {{ message }} </h3>
</template>
<script>
  export default {
      name : 'About',
      data() {
        return { message: 'Hello I am About !' }
      }
  }
</script>
Vue router 에서 제공하는 기본 엘리먼트 router-link 와 router-view 가 있습니다.
router-link 는 a 태그로 전환 되고, to="${path}" 로 main.js 에서 설정한 라우트 경로를 적어주면 됩니다.
router-view 는 현재 url을 보고 path 매핑된 컴포넌트를 렌더링 합니다.
1
2
3
4
5
6
7
8
9
10
11
12
13
14
15
16
17
18
19
20
21
22
23
24
25
// App.vue
<template>
  <div id="app">
    <header>
      <h1>Vue Router App</h1>
    </header>
    <ul>
      <li><router-link to="/home">home</router-link></li>
      <li><router-link to="/about">about</router-link></li>
    </ul>
    <router-view></router-view> <!-- 컴포넌트 렌더링 -->
    <footer>
      <small>Tel. 02-0000-0000, address: xxxx</small>
    </footer>
  </div>
</template>

<script>
export default {
    name: 'App',
    created() {
        console.log(this.$router)
    }
}
</script>
Vue 라우터 실행결과
최종 실행결과는 아래와 같습니다 🙂
/, /home 에서는 Home.vue 컴포넌트 렌더링, /about 에서는 About.vue 가 렌더링 되죠.
✨ 싱글 페이지 어플리케이션 (SPA) 에서는 화면의 꿈뻑임(새로고침) 없이 필요한 부분만 렌더링 하여 사용자에게 시각적 불편함 없는 화면 전환이 큰 장점인 것 같습니다.
Vue 라우터는 여러 편리한 기능들과 옵션이 존재하는데요. 이번 포스팅은 라우터의 정말 기본적인 기능만 설명하였습니다.
다음 포스팅에서 라우터의 기능에대해 계속 다뤄보도록 하겠습니다. ☺️